How to Start a Fire in Wet Conditions (Even Without a Lighter)?
Share
Nothing puts a damper on a good outdoor adventure like getting caught in cold, wet weather—especially when you need a fire. Whether you're camping with friends, fishing in the rain, or on a multi-day hike, having the ability to start a fire in damp conditions can be a total game-changer.
It might seem tricky at first, especially without a trusty lighter, but with a little knowledge and a few smart techniques, you can still get a fire going when the skies won’t cooperate. Here’s how to do it.
Step 1: Find Shelter and a Dry Spot for Your Fire
Before you even gather wood, look for cover. That could mean setting up a tarp, using a rainfly from your tent, or even taking shelter under thick trees or rock overhangs. Staying dry is half the battle.
Build your fire off the ground to avoid moisture soaking up from below. Place bark, flat stones, or a platform of sticks underneath your fire to give it a chance to breathe and stay warm.
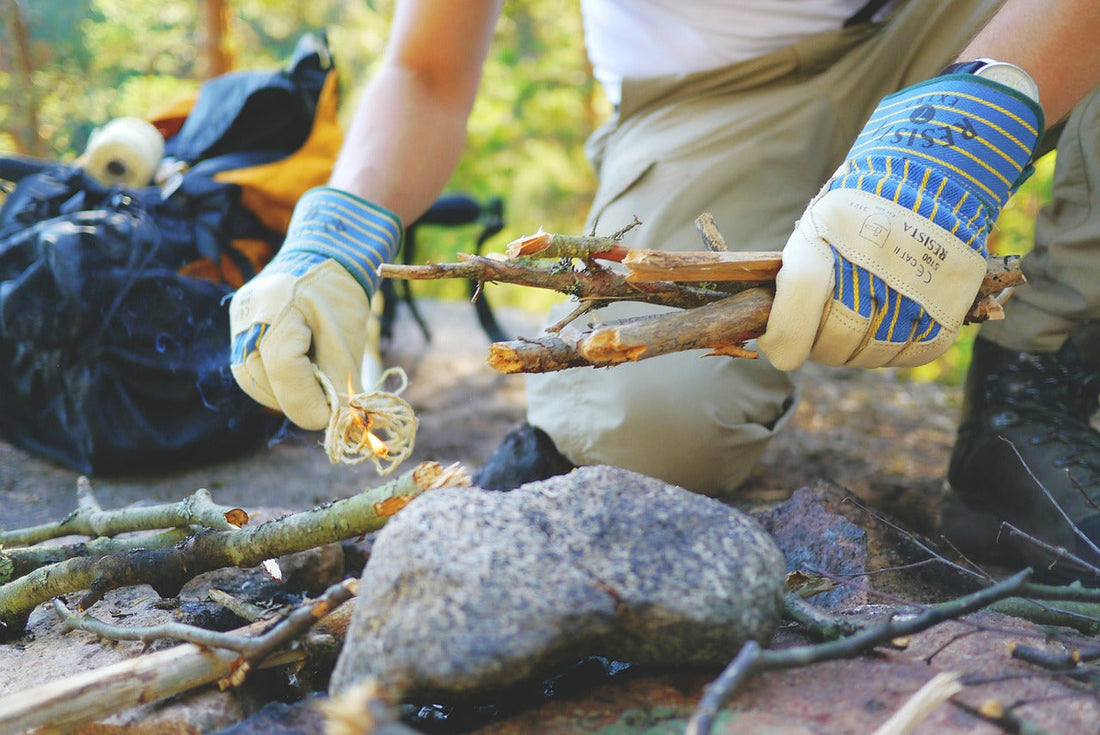
Step 2: Collect Dry Tinder – Yes, It’s Still Possible
Tinder is what helps your fire start—it’s the first thing that catches a spark. Even when everything’s wet, you can still find dry tinder if you know where to look:
- Birch bark is a classic. Even if the outside is damp, the inner layers often stay dry. Plus, the natural oils help it burn easily.
- Shaved wood: Use a knife to peel the bark off sticks and carve feather-like curls from the dry interior. These feather sticks catch flame better than damp outer layers.
- Dry twigs off the ground are usually wet, but dead branches still attached to trees tend to stay drier inside.
- Cotton balls dipped in petroleum jelly are a great DIY fire starter. If you carry a small tin of them, you’re always one spark away from a warm fire.
If you’re someone who enjoys paddling, hiking, or camping, it’s a good habit to stash some emergency tinder in a waterproof bag in your daypack—just in case.
Step 3: Gather Kindling and Fuel the Smart Way
Kindling is the next step up from tinder—small sticks and branches that help your fire grow. Even if the wood looks wet on the outside, the inside might be dry.
Use a knife or hatchet to split logs or sticks. This exposes the dry interior, which catches fire much more easily. Start with pencil-sized twigs, then move up to thumb-thick, then wrist-thick as your fire grows.
If you have time, stack your wood near your fire spot to let the heat begin drying it out. You’ll be surprised how much easier it burns after just a few minutes close to the flames.
Step 4: Build a Fire That Works With the Weather
The way you build your fire matters. In wet conditions, good airflow is crucial.
Try a teepee structure: put your tinder in the center, then lean small kindling pieces around it like a cone. This shape focuses heat and helps the fire catch more easily.
Another solid method is the log cabin: build a square frame with kindling and place your tinder in the center. This setup is especially useful if you're dealing with wind or want a longer-lasting fire.
Whatever you choose, make sure there's space for air to circulate. Fires need oxygen to grow.
Step 5: Light It Without a Lighter
It’s one thing to get a fire started when you have a lighter or matches—but what if you don’t? Here are a few reliable ways outdoor activity lovers can ignite a fire in wet conditions:
- Ferro Rod (Fire Steel): This is a must-have for any outdoor kit. A ferro rod throws hot sparks in all conditions. Just scrape it with a knife or striker over your tinder. It works even when wet and lasts through thousands of strikes.
- Battery and Steel Wool: Touch a 9-volt battery to fine steel wool and it will spark immediately. Carefully place it into your tinder nest and blow gently.
- Magnifying Lens or Water Bottle: If the sun is out, use a magnifying lens—or even a clear water bottle filled with water—to focus sunlight on your tinder. This method takes patience but works well with dry materials.
- Friction Methods (Advanced): Techniques like the bow drill or hand drill can also work, but they take practice and dry materials. They’re great to learn if you’re into bushcraft or enjoy challenging yourself with wilderness skills.
Step 6: Grow and Maintain the Fire
Once your fire catches, it needs nurturing. Start small—add thin twigs first and gradually feed it thicker pieces. Rushing the process by throwing on large wet logs too early will smother your flame.
Keep feeding the fire steadily. Place damp wood nearby to dry, then rotate it in as needed. Once your fire has a strong base of coals, it can handle bigger, wetter fuel.
Step 7: Be Ready for Next Time
If you’re serious about outdoor fun, whether it’s weekend hikes, fishing trips, or paddling expeditions, put together a mini fire-starting kit to stash in your pack:
- Ferro rod and striker
- Waterproof tinder (like waxed cotton or dryer lint)
- A small knife or multitool
- A few pieces of fatwood
- Waterproof container or dry bag to hold it all
Having this simple kit ready means you’re prepared for whatever nature throws your way.
Final Thoughts
Starting a fire in wet conditions without a lighter isn’t just about survival—it’s about confidence, preparedness, and enjoying the outdoors no matter what. Whether you’re out for a day of trail hiking or an extended canoe trip, fire-building is a skill that connects you to nature and boosts your self-reliance.
So the next time the rain comes in and everything feels soggy, remember: it’s still possible to spark a flame. With some knowledge, a little patience, and the right tools, you’ll be warming your hands and boiling your water in no time.